Care-O-bot 4 Transport
Contents
For shipping and transportation with a transportation vehicle, the costom made transport box has to be used. For transportation over short distances inside a building, the robot can be moved without packaging (electrically driven and manually steered with the joystick or moved by hand with brakes released).
For transportation, all kinematic joints (hip and head joint) of the Care-O-bot® 4 have to be raised (move to front). When arms are mounted on the robot, move them to the shipping position (move to ship)
After the transportation with large offset temperature to the operating area, the Care-O-bot 4 has to be placed at ambient temperature for at least one hour before turning it on.
Transporting the robot with the transport box
► Set up the transport box. Angle the transport box in a way that the parts 2 and 3 of the transport box face in the direction of the open room.
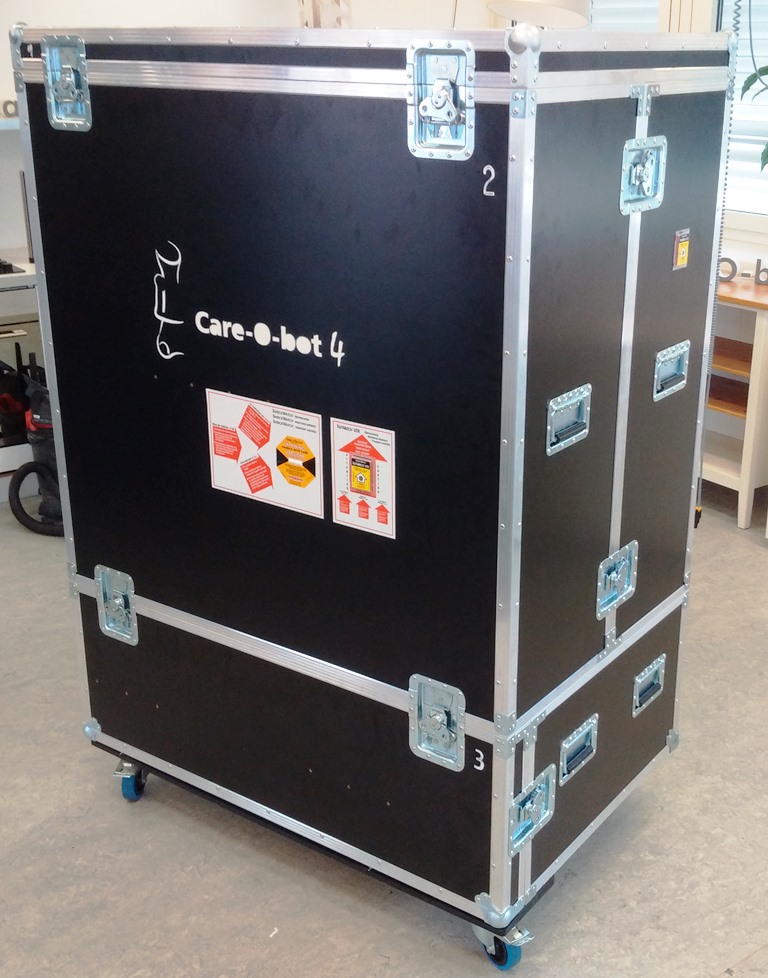
please consider:
- that there is enough space around the transport box so that the Care-O-bot® 4 can be maneuvered.
- that the transport box is not set up in an area with stairs, obstacles or cavities nearby.
- that there are two individuals necessary for the mounting and the dismounting of the individual parts because of the weight and size of the transport box.
- that two individuals are necessary to take parts 1-3 off the transport box.
1. Preparing the transport box
► Lock all wheels at the transport box.
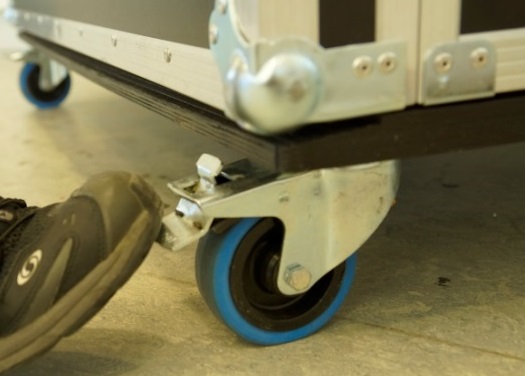
► Open the butterfly locks of part 1 (lid), completely hinge them down and take off part 1 in pairs.
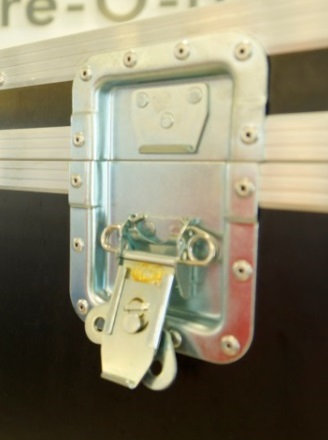
► Open the butterfly locks of part 2 (upper side wall in the back), completely hinge them down and place part 2 aside in pairs.
► Open the butterfly locks of part 3 (lower side wall in the back), completely hinge them down, carefully pull this part with respect of the lateral channels out of the box and place it aside.
The ramp (part 8) is hidden within the lid (part 1) of the transport box. It can be found underneath part 7 (fastening element for the head, with shaped foam part).
► Take part 8 (ramp) out of part 1 (lid). To do so, first of all pull out the four cotter pins, then remove part 7 (fastening element for the head, with shaped foam part) and take out part 8 (ramp).
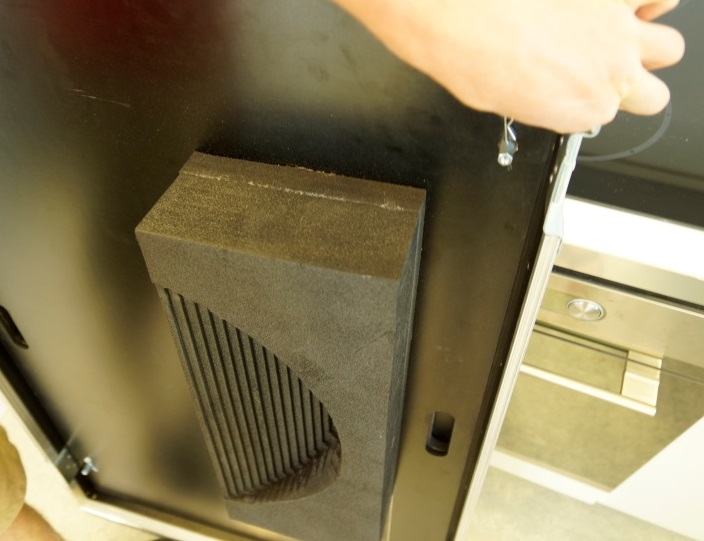
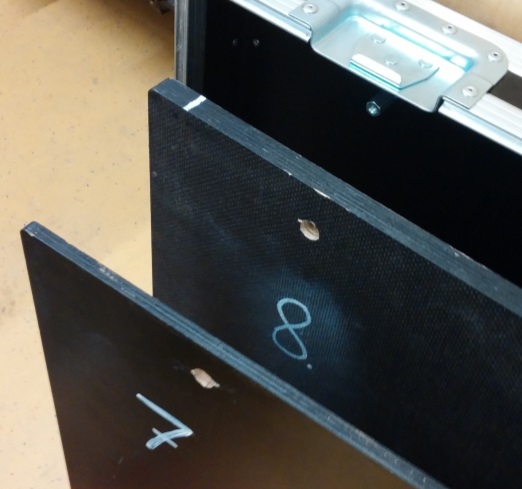
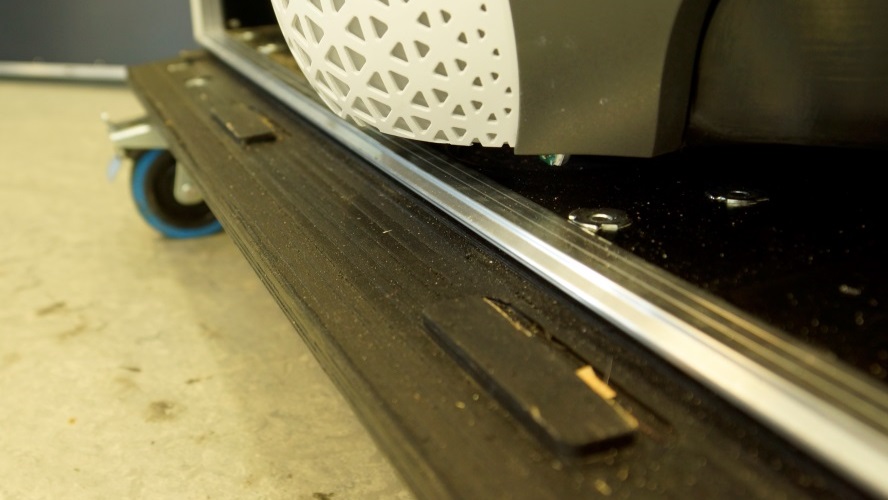
► Place part 8 (ramp) in its position at the lower side of part 5 (plattform of the transport box) and make sure that the notches in the ramp (see Fig.) lie above the counterpart (flutes) on the transport box (see Fig.). The other side of the ramp has to lie plain and stable on the floor. Only this way a safe drive of the robot over the ramp is possible.
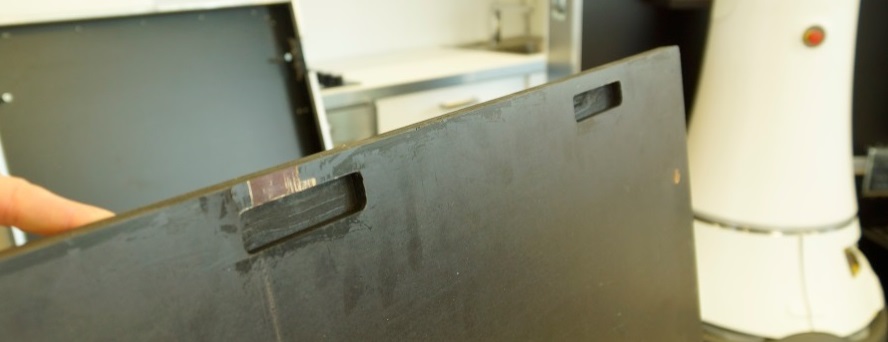
► Open part 6 (laser scanner visibility plate) on the back of the box. For that, push the black slide (see Fig.) downwards and swing down the part to open the slot.
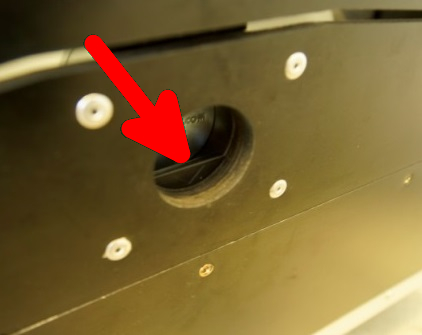
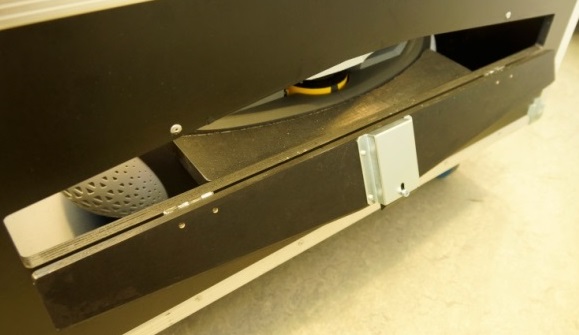
► The transport box is now prepared for the loading and unloading of the robot (see Fig.).
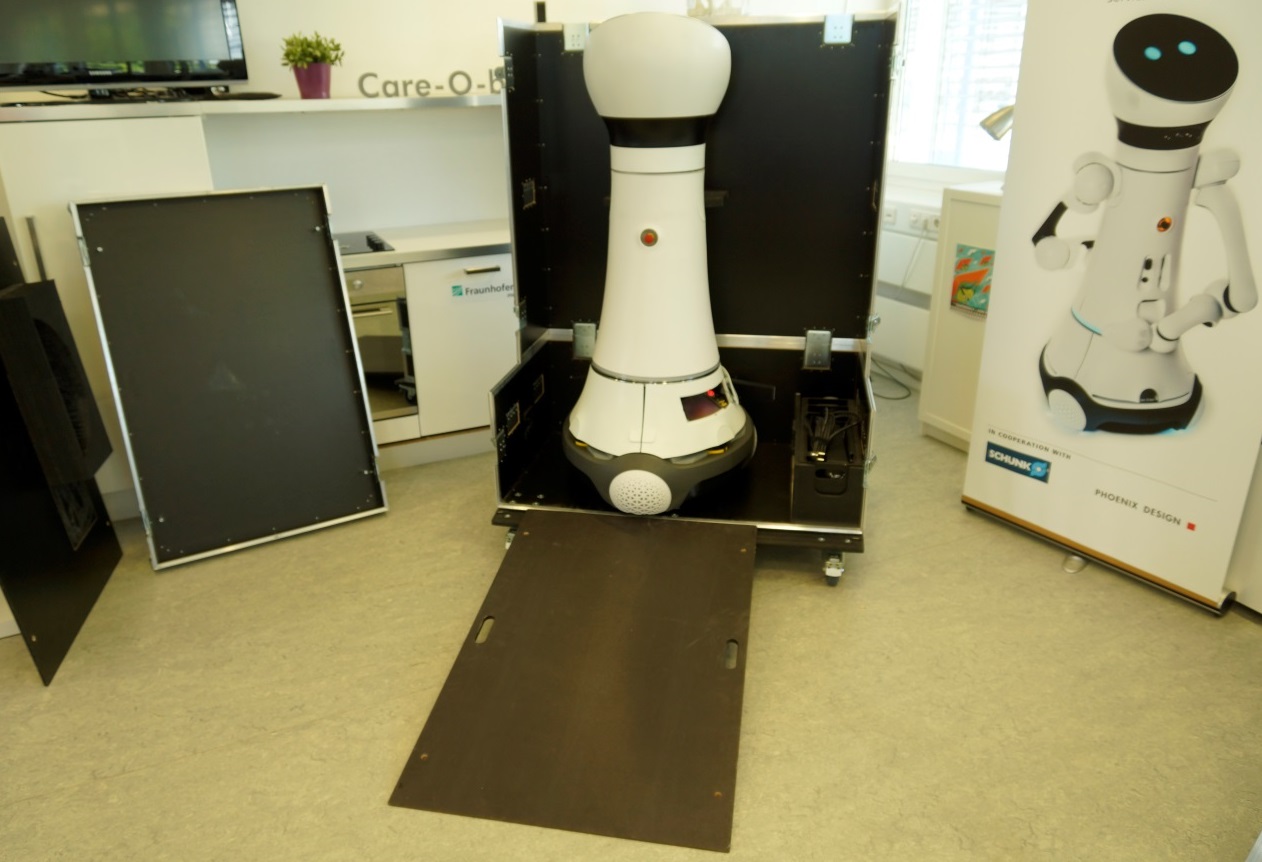
2. Unpacking the robot
► Prepare the transport box as described above (see 1.1).
► Switch on the Care-O-bot® 4 (see "Operating the robot").
► Wait until the robot has finished the boot and the bringup process.
please consider:
- that there are no persons within the reach of the robot when the robot is autonomously driving out of the box.
► After entering the following command, the robot will autonomously drive out of the transport box, using the ramp.
rosservice call /docker_control/undock "data: 'station_transport_box'"
► Reassemble the box in reverse order.
3. Packing the robot
► Prepare the transport box as described above (see 1.1).
► Make sure, all joints are in the correct position for transporting. Torso and head joint should be at home position. Arms should be at ship position.
► Drive the robot with the remote control in front of the ramp.
► Angle the robot in a way that its front faces the transport box (the side with the 3 cameras in the torso).
please consider:
- that there are no persons within the reach of the robot when the robot is autonomously driving into the box.
► After entering the following command, the robot will autonomously drive into the transport box, using the ramp.
rosservice call /docker_control/dock "data: 'station_transport_box'"
► Make sure, that the wheels of the robot sit in the molds in the floor of the transport box. The casings should fit as even as possible on the foam parts.
► Carefully push element 3 of the transport box in position (respect the lateral notches, see Fig.).
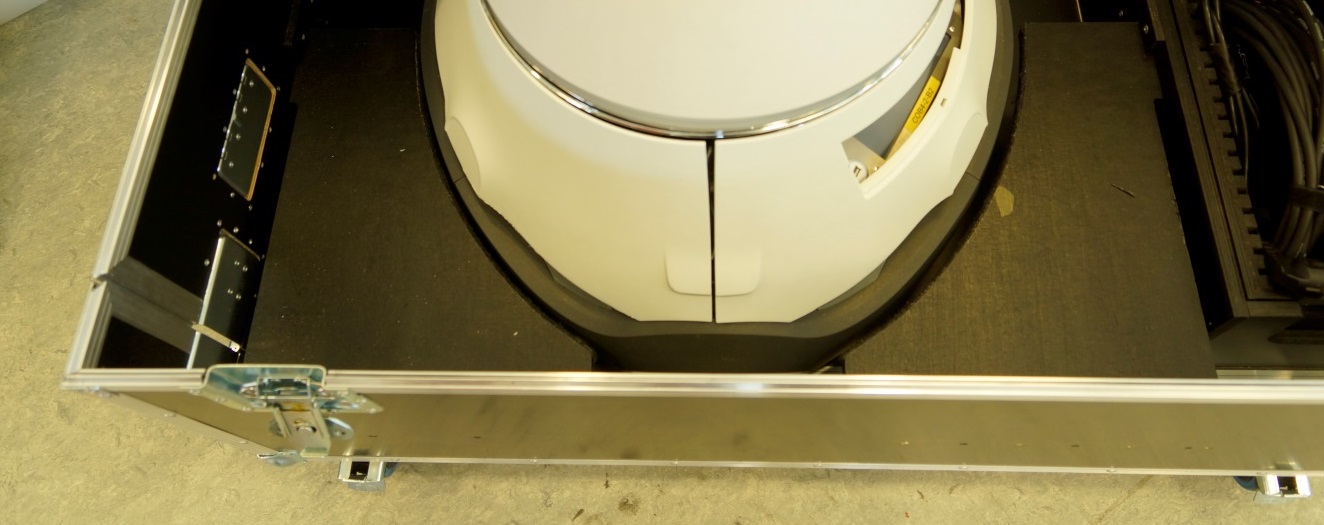
► Switch the robot into the emergency stop mode by pressing one of the emergency stop buttons.
► Switch off the Care-O-bot® 4 (see "Operating the robot")
